Taking screenshots on a Mac is an essential skill for anyone who uses the device regularly. Whether you’re capturing important information, saving a website for reference, or creating visual content, knowing how to take screenshots on Mac is crucial. In this guide, we’ll walk you through the various methods to take screenshots on Mac, from using keyboard shortcuts to utilizing the Screenshot app. We’ll also cover tips for editing, managing, and troubleshooting your screenshots to ensure you get the best results every time.
Introduction
Why Taking Screenshots on Mac is Useful
Taking a screenshot allows you to capture what’s on your screen quickly and efficiently. Whether you’re saving an important email, creating visual content for a presentation, or simply grabbing a snapshot of a website, screenshots are incredibly helpful. Mac offers multiple ways to capture your screen, giving users flexibility based on their needs.
Overview of the Screenshot Features on macOS
macOS offers built-in tools to take screenshots without needing third-party apps. From simple shortcuts to advanced editing capabilities, macOS is equipped with everything you need to capture your screen. Let’s explore these features in detail.
Different Methods to Take Screenshots on Mac
Using Keyboard Shortcuts
How to Capture Full-Screen Screenshots on Mac (Command + Shift + 3)
The simplest way to take a screenshot on Mac is by using the built-in keyboard shortcut: Command + Shift + 3. This captures the entire screen and saves the file to your desktop automatically. It’s the quickest option if you need to grab everything displayed on your screen in one shot.
Using Mac Shortcuts to Take Selected Area Screenshots (Command + Shift + 4)
If you don’t want to capture your whole screen, the Command + Shift + 4 shortcut lets you capture just a specific area. After pressing the keys, your cursor will change to a crosshair. Click and drag to select the portion of the screen you want to capture, and the screenshot will be saved to your desktop.
How to Capture Specific Windows on Mac (Command + Shift + 4, then Spacebar)
If you want to capture a specific window, use the Command + Shift + 4 shortcut, then press the Spacebar. The cursor will turn into a camera icon, allowing you to click on any open window on your screen to capture it. This option is useful if you want to take a screenshot of a particular application or document.
Using the Screenshot App
How to Launch the Screenshot App
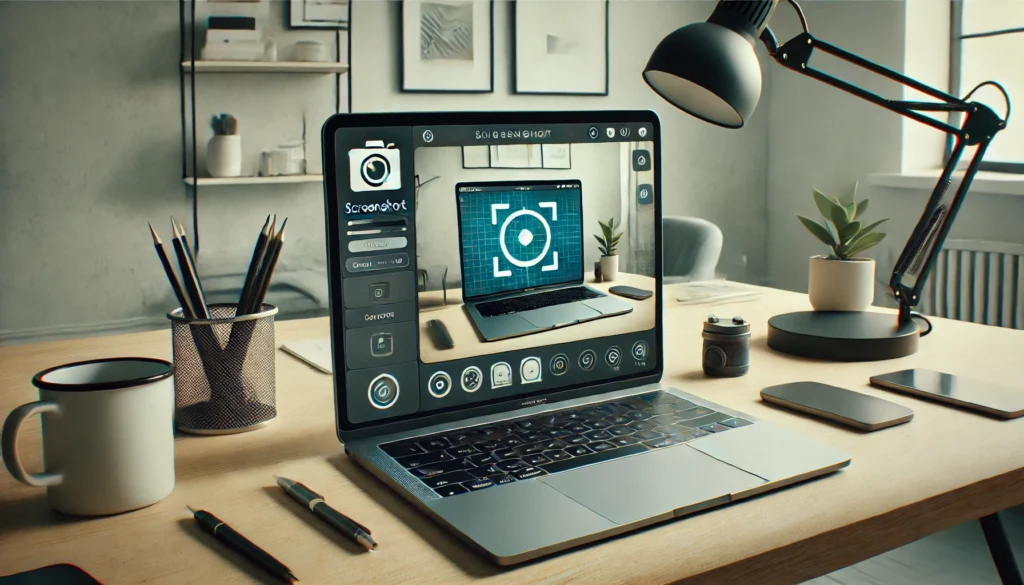
The Screenshot app in macOS gives users more control over how they capture their screen. To launch the Screenshot app, press Command + Shift + 5. This opens a toolbar at the bottom of the screen with several options for capturing the entire screen, a selected window, or a portion of the screen. You can also use this toolbar to start screen recordings.
How to Customize the Screenshot App Settings
The Screenshot app also allows you to adjust settings, such as changing the save location, setting a timer for delayed captures, and including or excluding the mouse cursor from screenshots. To customize these settings, click on “Options” in the Screenshot toolbar and choose the options that best fit your needs.
Advanced Screenshot Techniques for Mac Users
Using the Touch Bar for Screenshot Capture on MacBook Pro
For users with a MacBook Pro, you can capture screenshots using the Touch Bar, which provides an easy way to access screenshot options without needing to use keyboard shortcuts. The Touch Bar displays a screenshot button when you’re working with an app that supports it. Simply tap the screenshot icon, and you can capture a portion of the screen or the entire screen directly from the Touch Bar.
External Devices for Taking Screenshots on Mac
In addition to using your Mac’s built-in screenshot features, you can also use external devices like a digital camera or smartphone to capture screenshots. For instance, if you need to grab something from your Mac but don’t want to use the built-in features, you can take a photo of the screen using another device.
Managing and Editing Your Screenshots on Mac
How to Find and Organize Screenshots on Mac
By default, macOS saves your screenshots to the desktop with the file name “Screen Shot [Date] at [Time].png.” If you want to change the default save location, you can do so via the Screenshot app settings. To find and organize your screenshots, simply open Finder and navigate to the folder where your screenshots are stored.
Editing Mac Screenshots with Preview and Other Tools
Cropping and Annotating Screenshots
After taking a screenshot, you may want to crop or annotate it. To do so, open the screenshot in Preview. From there, you can use the toolbar to crop the image, add shapes, text, or even draw on the screenshot. These simple editing tools can help you highlight or mark important parts of your screenshot.
Using Markup Tools
Mac’s Markup tools provide additional options for adding annotations to screenshots. You can add arrows, lines, or shapes, adjust text size and color, and even sign documents if needed. This makes it easier to share visually enhanced screenshots for presentations or communication.
Taking Screenshots in macOS Mojave and Later
Accessing the Screenshot Toolbar
If you’re using macOS Mojave or later, you can access the Screenshot toolbar by pressing Command + Shift + 5. This toolbar gives you options to capture the entire screen, a selected window, or a selected portion of the screen. You can also use this toolbar to start screen recordings, making it a versatile tool for content creation.
Screen Recording Feature in macOS
How to Start Screen Recording on Mac
In addition to taking screenshots, macOS Mojave and later allow you to record your screen. To start a screen recording, press Command + Shift + 5 to open the Screenshot toolbar, then click the “Record Entire Screen” or “Record Selected Portion” button. After that, click to begin recording.
Stopping and Saving Screen Recording
When you’re finished with your screen recording, press Command + Control + Esc to stop the recording. The file will automatically be saved to your desktop, where you can edit, share, or use it in your projects.
Tips for Better Screenshots on Mac
Customizing Screenshot Shortcuts on Mac for Quick Access
You can customize your keyboard shortcuts for easier access to screenshots. Go to System Preferences > Keyboard > Shortcuts to set up custom shortcuts that suit your workflow. This can save you time and make it easier to take screenshots without needing to remember complex combinations.
Using Timer for Delayed Screenshots on Mac
If you need a few seconds to set up your screen before capturing it, you can use the Screenshot app’s timer feature. From the Screenshot toolbar, select the “Timer” option and set a delay of 5 or 10 seconds. This gives you time to arrange your screen and capture the perfect shot.
Using Third-Party Apps for Advanced Features
While macOS offers robust built-in screenshot tools, third-party apps can provide even more advanced features. Apps like Snagit or Skitch offer enhanced editing tools, scrolling capture for long web pages, and the ability to create GIFs from screenshots. If you need additional functionality, these apps are worth considering.
Troubleshooting Common Screenshot Issues on Mac
What to Do If Screenshots Aren’t Saving
If your screenshots aren’t saving to your desktop, ensure that your macOS settings are correct. Check the location where your screenshots are set to be saved in the Screenshot app settings. If that’s fine, try restarting your Mac or resetting your keyboard shortcuts.
Fixing Screen Resolution Problems
If your screenshots look blurry or distorted, it could be due to screen resolution settings. Check your display settings to ensure they are set to the optimal resolution for your Mac. Higher resolutions typically result in clearer, more detailed screenshots.
Solutions for Taking Screenshots in Different Applications
Some apps may block the ability to take screenshots, especially if they are in full-screen mode or using special graphic rendering. If you can’t capture a screenshot in such an app, try switching to windowed mode, or use the Screenshot app’s timed capture feature to delay your screenshot.
Conclusion
Taking screenshots on Mac is a simple yet powerful tool that can greatly improve your productivity. From basic shortcuts to advanced screen recording features, macOS offers plenty of ways to capture exactly what you need. By mastering these techniques, you’ll be able to save time and create visually engaging content with ease.
FAQs
What Are the Different Screenshot Shortcuts on Mac?
The most common shortcuts are Command + Shift + 3 (full screen), Command + Shift + 4 (selected area), and Command + Shift + 4 then Spacebar (specific window).
How Do I Edit a Screenshot on Mac?
You can edit screenshots using Preview or the built-in Markup tools to crop, annotate, and enhance your images.
Can I Change the Default Screenshot Location on Mac?
Yes, you can customize the save location through the Screenshot app settings under the “Options” tab.
How Do I Take a Screenshot of a Scrolling Page on Mac?
While macOS doesn’t natively support scrolling screenshots, you can use third-party apps like Snagit to capture entire web pages.
Why Are My Screenshots Not Saving on Mac?
If your screenshots aren’t saving, ensure the save location is correctly set, and check if your system preferences are correctly configured.


