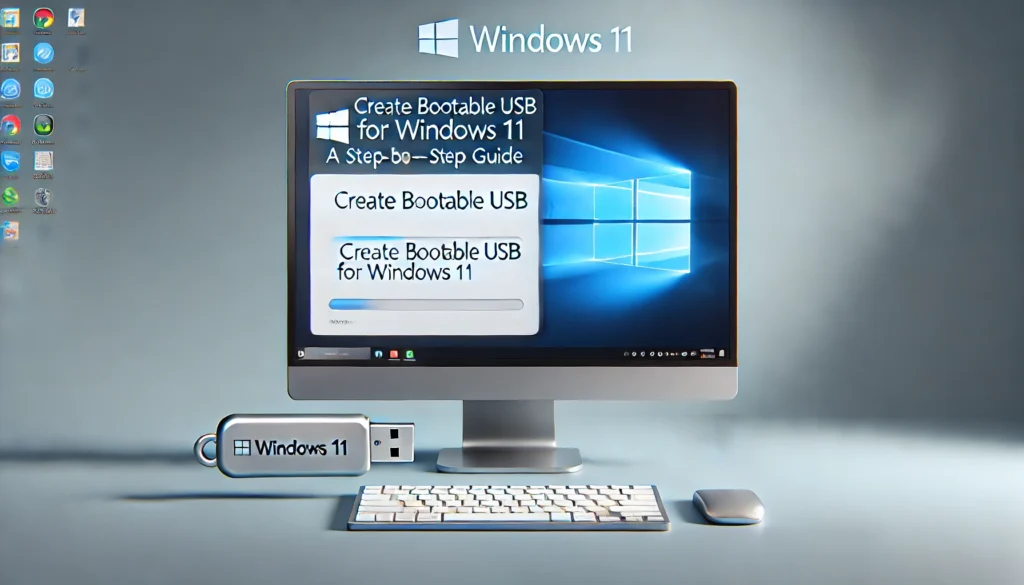
If you’re planning to install or reinstall Windows 11, one of the easiest and most efficient methods is to create a bootable USB for Windows 11. This method allows you to install the operating system without needing a DVD drive, making it perfect for modern laptops and PCs. In this step-by-step guide, we’ll walk you through the process of creating a bootable USB, from downloading the necessary files to installing Windows 11 on your computer. By the end of this guide, you’ll be able to boot from your USB and have Windows 11 up and running in no time.
What You Need to Get Started with Creating a Bootable USB for Windows 11
Before you begin creating your bootable USB, make sure you have everything required for the process:
- A USB Drive: A USB drive with at least 8GB of available storage space. You can use a larger drive if you prefer.
- Windows 11 ISO File: This is the installation file that contains all the system files needed for Windows 11.
- A Computer with Internet Access: You’ll need internet access to download the ISO file and necessary tools.
- Media Creation Tool (Optional but Recommended): Microsoft’s Media Creation Tool is a user-friendly program that simplifies the process of creating a bootable USB.
Step 1: Download the Windows 11 ISO File
The first step in creating a bootable USB drive is to download the official Windows 11 ISO file. This file contains all the essential files to install Windows 11.
Where to Get the Windows 11 ISO
You can easily download the Windows 11 ISO from the official Microsoft Software Download Page. Be sure to download the correct version (Home, Pro, etc.) and language of Windows 11 for your system.
How to Verify the Download
After downloading the ISO file, it’s important to verify its integrity. Sometimes, downloads may get corrupted, which can lead to installation problems. To ensure the file’s integrity, you can use tools like the Windows hash checker or third-party programs such as HashCalc.
Step 2: Prepare the USB Drive for Windows 11 Installation
Now that you have the ISO file, the next step is to prepare your USB drive to receive the Windows 11 installation files.
Formatting the USB Drive
The first thing you need to do is format your USB drive. Formatting will erase all data on the drive, so make sure to back up any important files before proceeding. You can format your USB drive using Windows’ built-in Disk Management tool or File Explorer.
Here’s how to format the drive:
- Insert the USB drive into your PC.
- Open This PC in File Explorer, right-click the USB drive, and select Format.
- Choose FAT32 as the file system and click Start.
Backup Important Files
Remember, formatting will erase all data. Before you proceed, make sure you’ve backed up any important files from the USB drive.
Step 3: Download and Use the Media Creation Tool
For an easier method of creating a bootable USB, you can use Microsoft’s Media Creation Tool. This tool automatically downloads the Windows 11 ISO and transfers it to your USB drive, creating a bootable installation media.
What is the Media Creation Tool?
The Media Creation Tool is a free utility from Microsoft that simplifies the process of creating a bootable USB. It’s a great option if you want to skip the manual download and file transfer process.
How to Use the Media Creation Tool:
- Download the Media Creation Tool from Microsoft’s official website.
- Run the tool and accept the license agreement.
- Select Create installation media for another PC.
- Choose the language, edition, and architecture (32-bit or 64-bit) for Windows 11.
- Select USB flash drive as the media type, then choose the USB drive from the list.
- Click Next, and the tool will start downloading Windows 11 and writing it to your USB drive.
Step 4: Create the Bootable USB Drive
Once you’ve used the Media Creation Tool, the next step is to allow the tool to transfer Windows 11 to your USB drive.
How the Process Works
The Media Creation Tool will automatically download the necessary files and copy them to the USB drive. This process can take anywhere from 30 minutes to an hour, depending on your internet speed and the performance of your USB drive.
Troubleshooting Common Issues
If the process fails, try the following:
- Reformat the USB drive and try again.
- Check your internet connection to make sure it’s stable.
- Ensure that your USB drive has enough storage (at least 8GB).
Step 5: Set Up BIOS to Boot from USB
With the bootable USB created, the next step is to adjust your computer’s boot order so it will boot from the USB drive.
Accessing the BIOS or UEFI Settings
To access the BIOS or UEFI settings, restart your computer and press the BIOS key (usually F2, F12, DEL, or ESC) during the boot sequence. If you’re not sure of the exact key, check your computer’s manual.
Changing the Boot Order
Once you’re in the BIOS or UEFI settings, look for the Boot Order or Boot Priority section. Set your USB drive as the first boot device so that the computer will boot from it first.
Step 6: Installing Windows 11 from the Bootable USB
Now that your computer is set to boot from the USB drive, the next step is to begin installing Windows 11.
Starting the Installation
Insert the bootable USB into your PC and restart the computer. If the USB is set up correctly, you will see the Windows 11 installation screen.
Navigating the Installation Setup
Follow the on-screen prompts to select your language, time zone, and keyboard preferences. After that, the installation process will guide you through partitioning your drive, choosing the installation location, and finishing the setup.
Tips for a Smooth Installation
Before starting the installation, here are a few tips to make sure everything goes smoothly:
- Check System Compatibility: Ensure your PC meets the minimum requirements for Windows 11, such as a compatible processor, sufficient RAM (at least 4GB), and TPM 2.0 support.
- Prepare for Errors: Sometimes, installation errors may occur. Be ready to consult Microsoft’s troubleshooting resources or online forums for quick fixes.
Conclusion: Successfully Creating a Bootable USB for Windows 11
Creating a bootable USB for Windows 11 is a simple yet essential task for installing or reinstalling the operating system. By following these steps, you can create your own bootable USB and quickly set up Windows 11. The Media Creation Tool makes the process easier, but ensuring compatibility and following the steps carefully is key to a smooth installation.
FAQs
1. What if my USB drive isn’t recognized during the boot process?
If your USB drive isn’t recognized, check the USB port and ensure it’s properly inserted. You may also need to adjust the boot order in the BIOS again.
2. Can I use a USB drive smaller than 8GB for Windows 11?
It’s not recommended to use a drive smaller than 8GB, as Windows 11 requires at least 8GB of storage. Using a smaller drive may cause errors or prevent the installation from completing.
3. How long does it take to create a bootable USB for Windows 11?
The process can take anywhere from 30 minutes to 1 hour, depending on the speed of your internet connection and USB drive.
4. Can I use this bootable USB to install Windows 11 on a Mac or Linux machine?
While the bootable USB is intended for Windows PCs, you can use it to install Windows 11 on a Mac with Boot Camp or on other systems with compatible hardware.
5. What if I encounter an error during installation?
If you face an error, restart the installation, check the installation files for corruption, or refer to Microsoft’s official support page for troubleshooting tips.


